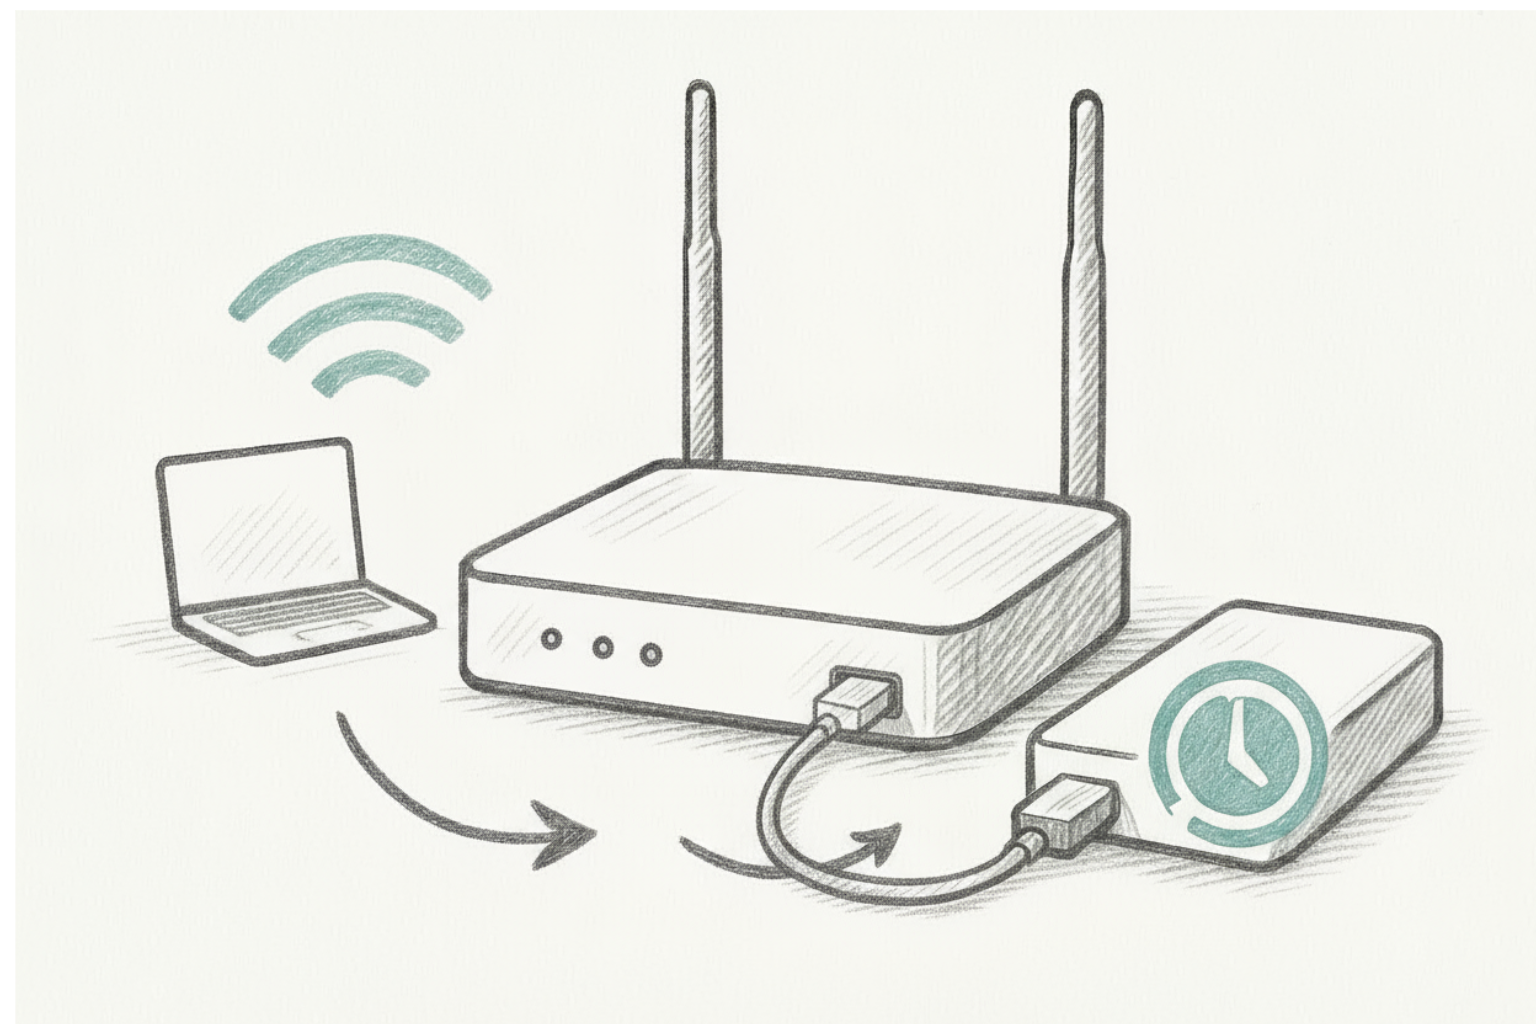
Are you tired of plugging and unplugging an external drive every time you back up your Mac with Time Machine? Many routers and NAS devices can act as a Time Machine server, so you can enjoy seamless, wireless backups at home.

Before you set this up—or if you’re choosing a device specifically for Time Machine—there are three parts to consider: the router hardware, the router software/firmware, and the external drive. Below is the checklist we use at RouterFly, plus how we test each device.
1) Router hardware
USB
- Number of ports
- Type: USB-A / USB-C
- Throughput: USB 2.0 vs USB 3.x (3.0/3.1/3.2)
Networking
- Wi-Fi generation: Wi-Fi 5 / 6 / 6E / 7
- Maximum link speed
- MIMO/stream count and antenna design
- Ethernet LAN speeds: 1G / 2.5G / 10G (matters for wired backup)
2) Router software (firmware features)
- Disk formatting options: can you format the drive in the router UI, or must it be pre-formatted?
- Setup experience: GUI vs CLI, web UI vs mobile app, and how many steps it takes.
- Network file sharing: Time Machine over SMB support, share creation, per-user quotas.
- Service discovery: Bonjour/mDNS (Avahi) advertisement so Macs auto-discover the backup target.
- Multi-user management: separate users and quotas for multiple Macs.
- Remote backups: support via site-to-site or client VPN and Bonjour relay/reflector (for discovery across subnets).
3) External drive considerations
- Interface: USB 3.x (recommended) vs USB 2.0
- Capacity: plan for 2–3× your Mac’s used space
- Drive type: HDD (cheaper, larger) vs SSD (faster, silent)
4) The overall backup experience
- Stability: long-running reliability, recovery after power blips, and resume after Wi-Fi drop.
- Performance: first full backup time vs incremental backups; restore speeds.
- Support: vendor documentation, firmware update cadence, and community resources.
How we test at RouterFly (methodology)
- Baseline setup
- Fresh external drive (cleanly formatted as recommended by the device/vendor).
- Create a dedicated SMB share for Time Machine with a unique user and a storage quota.
- Discovery & setup
- Confirm the macOS client auto-discovers the Time Machine target via Bonjour.
- Record how many steps/clicks and any non-obvious settings.
- Performance
- Measure initial full backup of a known dataset (e.g., 200 GB).
- Measure three incremental backups (5–10 GB each).
- Test both Wi-Fi and wired Ethernet where applicable.
- Stability & resilience
- 24–48 hour soak: continuous incremental backups while the Mac sleeps/wakes.
- Mid-backup interruptions: Wi-Fi toggle, router reboot, power cycle of the USB drive—verify clean resume.
- Error handling: full-quota behavior and recovery once quota is increased.
- Multi-user
- Two or more Macs backing up concurrently to separate user shares with quotas—watch for throttling and failures.
- Restore tests
- File-level restore from Time Machine.
- Optional: full system restore to a spare Mac or VM to confirm integrity.
- Observability
- Check router logs for SMB/USB errors.
- Note CPU/RAM utilization (if exposed) during heavy backup.
- Remote/VPN (optional)
- If supported, verify backup/restore over VPN and document discovery requirements (Bonjour relay/reflector).
We’ll publish per-device scorecards with weighted ratings for Hardware (25%), Software (35%), Drive/Storage (10%), and Experience (30%), plus setup notes and gotchas.
